Lash tech is not an easy business. Becoming a professional technician requires the proper training and craftsmanship to safely and expertly carry out treatments for your clients. There is an abundance of skills you will need to learn in order to reach a professional level, but every journey starts with a step, and New Zealand Beauty School is here to help guide you on the adventure.
As lash treatments have risen in popularity, the demand for trained lash technicians has become high. One of the most popular treatments on the market is eyelash extensions, which involve applying synthetic lash applications/long-lasting individual lashes to the lash line, which, when completed, should merge seamlessly with the natural lashes and create a more defined, lengthened look.
Want to dive into this industry? Then you’ll need to know the 15 Top Tools for Lashes. And luckily enough, we’re here to reveal exactly what those are.
Getting started with lashes
Before you go investing in an expensive professional eyelash extension kit, we have put together this handy guide to help you build your own DIY lash extension kit, containing everything you will need to start on your lash tech journey.
Once you have mastered the basics, then the world is your oyster!
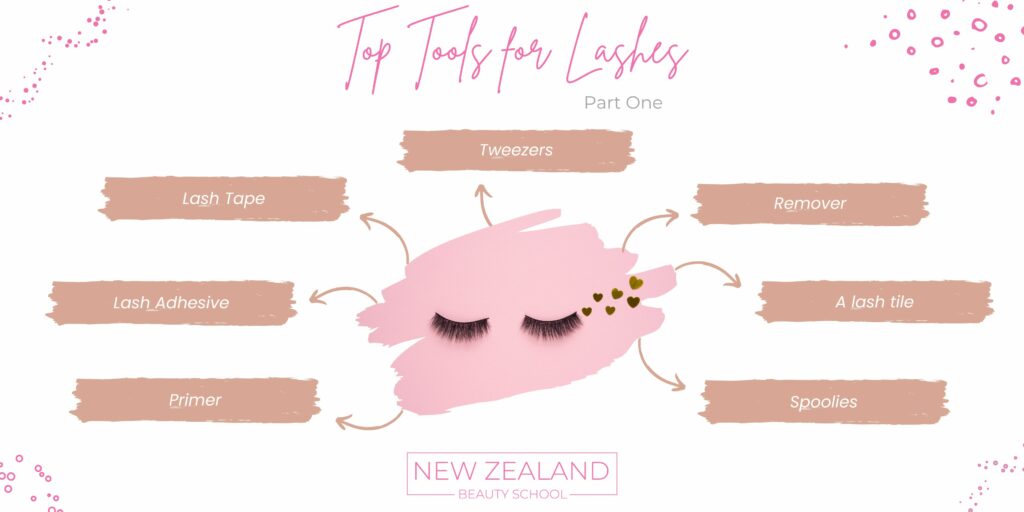
- Primer – it is always best to start with a solid foundation. Priming eyelashes ready for application is vital for the health and maintenance of the natural lashes that will sit beneath the extensions.
- Lash adhesive – getting the lashes to stick! We’re sure many of us know the struggle of this. A lash technician worth their salt will always ensure they have a high-quality adhesive to attach lashes with and will ensure that they consult with the client about any existing allergies or sensitivities before using any products directly on them.
- Lash tape/pads – you’re going to want to use these if you don’t want to end up glueing your clients’ eyes shut!
- Tweezers – lash application can be fiddly work, and the use of tweezers is an absolute must. This nifty little tool allows for precision when applying false lashes, particularly when opting for smaller or individual extensions. There are differently shaped tweezers, depending on the type of lashes you are applying, so have a look and see which works the best for you.
- Remover – whether you are removing an old pair of extensions or reworking a new pair, having a top-quality removing agent to hand is vital. You need to be able to remove lashes swiftly and with ease.
- A lash tile – a handle little glass tile to place the lashes on during application, making them easier to see and reducing the risk of losing any!

- Spoolies – also known as wands, these little brushes help to separate lashes throughout the application process and ensure the lashes stay free from makeup and other debris. They are also vital tools in the aftercare process.
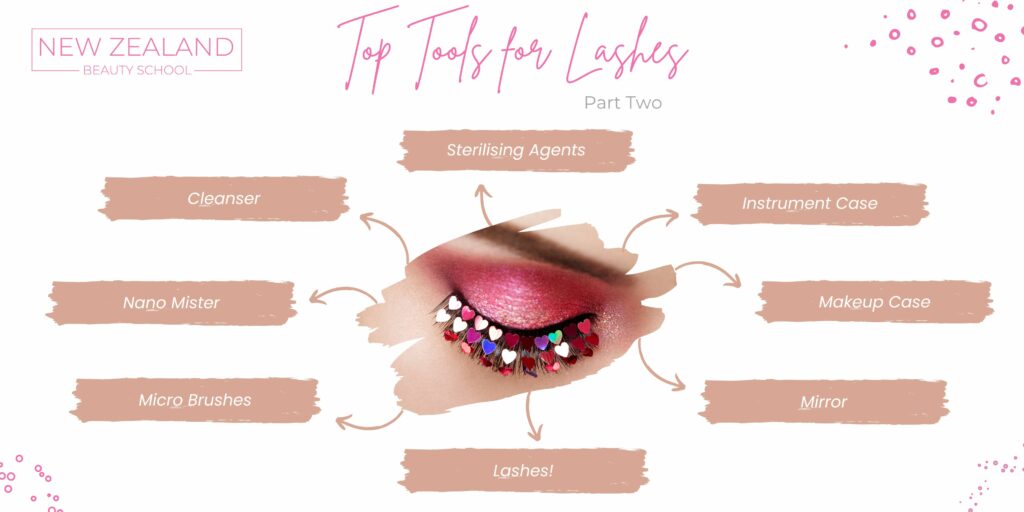
- Micro brushes – a nifty little multifunctional brush allows you to easily apply primers and cleansers to the lashes.
- Nano mister – an effective way of setting lashes using water droplets – the magic of H2O!
- Cleanser – no one wants to be applying extensions to dirty lashes. Making sure your clients’ lashes are clean and free of any oil or residue will ensure a well-primed base to start creating the perfect lash look.
- Sterilising agents – keeping your instruments sterilised is a top priority for any professional beauty technician. Be sure to find a safe and non-irritant sterilising agent for your tools.
- Individual cases for instruments – organisation during treatments makes things run smoothly, so keeping your instruments in individual cases can help keep things in order.
- A makeup case – to keep all your tools and equipment safe and compact.
- Mirror – so your client can see the final result!
- And, of course…lashes! – having a large range of lashes in different styles, colours, and thicknesses will make you extremely popular! People like to have options – the more options there are, the greater the chance of client satisfaction.
Our American neighbours over at The Lash Professional offer some great advice on some of the best and most helpful tools for lash extension application.

Other tools a lash tech needs – the knowledge and know-how
Now, it may seem like the technical tools are the most important part of being a lash tech, and of course, what would an artist be without their paintbrush? However, if the artist doesn’t know how to navigate their canvas, it can lead to disaster.
It is vital for eyelash technicians, and any beauty treatment artist for that matter, to know how to tailor each treatment to each client’s unique face.
Depending on a client’s face shape and facial features, as well as hair colours, eyelash lengths and strengths and so on, different eyelash lengths, styles and colours are more likely to suit them.
Here is a basic guide of things to take into consideration when advising your clients on the right lashes for them:
Face shape
- Round – round face types appear rounded in shape, with soft edges and symmetry in width and length
- Oval – similarly to the round face shape, oval faces often have softer lines and edges whilst presenting slightly longer with a more narrow point towards the chin
- Square – often equal in width and length with a sharp jaw, squarer faces can often appear quite symmetrical
- Rectangle (oblong) – rectangular faces share a likeness to square face types, often with a sharp or strong jaw. However, rectangle face types tend to be longer in length than in width
- Heart – those with a heart shape face tend to have a wider forehead, which then leads down to higher, more defined cheekbones and a pointed chin
- Diamond – diamond faces often present with sharp, angular features and share the heart shape’s trademark point at the chin and higher cheekbones
Facial features
The shape and size of a client’s facial features can have an impact on which lash treatments will best suit them and enhance their natural beauty.
It is important to consider:
- Eye size – large or small, there are lashes for every eye!
- Eye shape, orientation, and eyelids – a client’s eyes may be upturned or downturned, they could be almond-shaped or round, they might be close together or far apart, or perhaps your eyelids are hooded. Whatever position their peepers are in, it is important to find the most comfortable set of lashes for them.
- Eye/eyelash colour – eye colour and natural eyelash tone can have a big impact on the colour and style of lashes that will best make a client’s eyes pop.
- Eyebrow shape, thickness and colour – eyebrows are one of the most noticeable features on our face; small changes to them often alter the framing of a face completely. When helping a client to choose their lash extensions, it is important to talk them through the selection process and how many facial features, such as eyebrows, can impact the overall look of the lashes once they are applied.
- Complexion – similarly to a client’s eye colour, their complexion can have an impact on the overall effect of the lashes. You will want to discuss different lash thicknesses, colours and degrees of curl to make sure the client is happy with the look before application.
Ready to start your beauty journey?
Here at the New Zealand Beauty School, we have a popular eyelash extension course online, where you will be equipped with the essential practical and theoretical knowledge to apply beautiful eyelash extensions, making your clients feel their very best.
Our professionally designed comprehensive course will equip you with all the skills and knowledge you will need to excel in your chosen profession, with our solid tutor support system always there to lend a helping hand as you test out your new beauty sails.
All our courses are fully online with 24/7 access to your learning, empowering you to complete your studies on a schedule that suits you. Download our course brochure for more information on course content and module breakdown.
We also offer an interest-free weekly payment plan or an overall course discount when you pay the entire course costs upfront to make financing your future that little bit more manageable.
Let the adventure begin!
