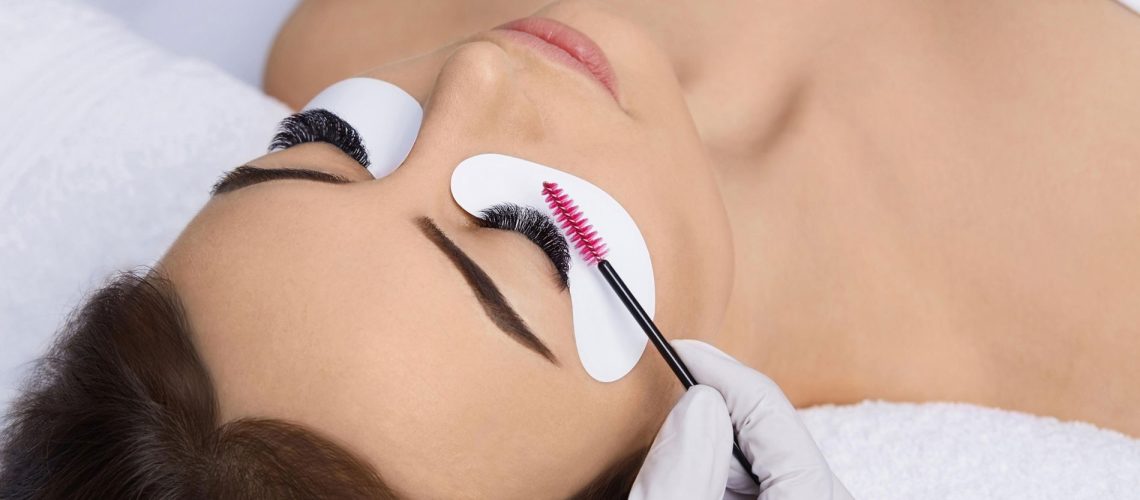
Did you know that sales of mascara have been falling these last few years? We put it down to the growing number of treatments you can get for eyelashes and their growing popularity. Fake eyelashes. Eyelash extensions. Eyelash lift and tint. These treatments have been in increasing demand amongst beauty clients.
If you’re keen to offer eyelash tint and lift treatments to your customers, here’s everything you need to know.
A few eyelash lift basics
An eyelash lift is like a perm for the eyelashes. With an eyelash lift, clients can enjoy luscious lashes with minimum maintenance.
The treatment gives lashes a permanent curl, which lasts for between 6 and 10 weeks (until an eyelash naturally falls out and is replaced).
Many beauty therapists also offer an eyelash tint at the same time as an eyelash lift so clients get a little more bang for their buck.
Eyelash lift kit essentials
If you’re planning on offering eyelash lift and tint services to your clients here’s the essential equipment you’ll need.
- Gel pads
- Silicone moulds
- Perming solution
- Setting solution
- Eyelash dye
- Cue tips
- Clean mascara wands
- The timer on your phone
Top eyelash lift and tint techniques
Eyelash lift kit sorted? Here’s our step by step guide to providing an eyelash lift and tint treatment (plus a few bonus tips!)
Step #1
Make sure your client’s eyelashes are completely clean before starting the treatment.
TIP: Some salons advise clients to avoid using mascara or eyelash curlers for a few days prior to their appointment. This ensures that eyelashes are completely clean, dry and relaxed.
Step #2
Apply eye pads on top of the bottom lashes and use a water-soluble adhesive to stick a silicone mould onto the eyelid.
Next, curl and stick lashes over the mould before (and this is a really important part) carefully separating the lashes. You should ensure that there are no gaps and that eyelashes are all pointing the right way.
Step #3
Apply the perming solution to the base and middle of the lashes (avoiding the tips as this can cause breakages). This chemical mix softens the eyelash hairs so they become malleable.
Leave the solution on lashes for six to ten minutes, depending on the thickness of the hairs. The thicker the lash, the longer the solution needs to stay on.
TIP: Err on the side of caution with your timings. You can always make a note and agree with your client to leave the solution on for longer next time if they decide they’d like a stronger curl.
Step #4
Next, remove the first solution using a cue tip and apply the second solution. This one fixes the eyelash lift in place and should be left on the lashes for another six to ten minutes.
Step #5
Remove the setting solution using a cue tip. If you’re performing a lash lift and tint, now is the time to tint. Unlike the lift, you’ll apply a tinting treatment to both top and bottom lashes.
TIP: For the eyelash lift, eye pads should have been laid on top of the bottom lashes. Before tinting, remove these eye pads and apply new ones, this time laying them underneath the bottom lashes.
Step #6
Once tinting is complete, remove the tint and the silicon mould using cue tips and dry cotton wool pads. Then brush lashes with an oil or conditioning solution to nourish and remove any remaining adhesive or product.
Step #7
Once tinting is complete, remove the tint and the silicon mould using cue tips and dry cotton wool pads. Then brush lashes with an oil or conditioning solution to nourish and remove any remaining adhesive or product.
Step #8
Advise your client that they should avoid getting water on their lashes for the next 24 hours. This also includes steam and sweat, so they should probably avoid hot showers or hot yoga for the next day or so too.
Want to perfect this skill? Check out our eyelash lift and tint course available at New Zealand Beauty School. Our online training with full tutor support will soon have you performing beauty therapies to top salon standards.
